I started using Sanity headless CMS a few weeks back and in general, although I hit a few bumps in the way the process was relatively simple. Nonetheless, I couldn’t find any tutorials or information on how to use Next js and Sanity together. And a good part of what I found was a bit outdated. Because of this, I decided to write a small tutorial on how the general process works. There is a lot to do so, let’s get to it.
Install Sanity CLI
First, make sure you have a registered account in sanity.io.
Important: you will need to remember the method used to register on sanity.io, e.g. Github, email, google… In case this is the first time you use Sanity you will need to install the Sanity CLI tool. First, make sure you have Node and npm installed on your computer by typing this in your command line or terminal:
node --vIf the output shows some version of node, like v14.15.5 or similar, you are good to go. If not, it means you have to install node.js on your computer. Just go to this link and install the LTS version.
Now install the Sanity CLI by typing this in your terminal:
npm install -g @sanity/cliCreate Next.js Project
Although you can create a Next.js project using one of the starter templates that Sanity provides, we are going to start with a basic create-next-app. So, in your terminal or command line navigate to the folder where you’re going to save your blog and write
npx create-next-app your-blog-name-here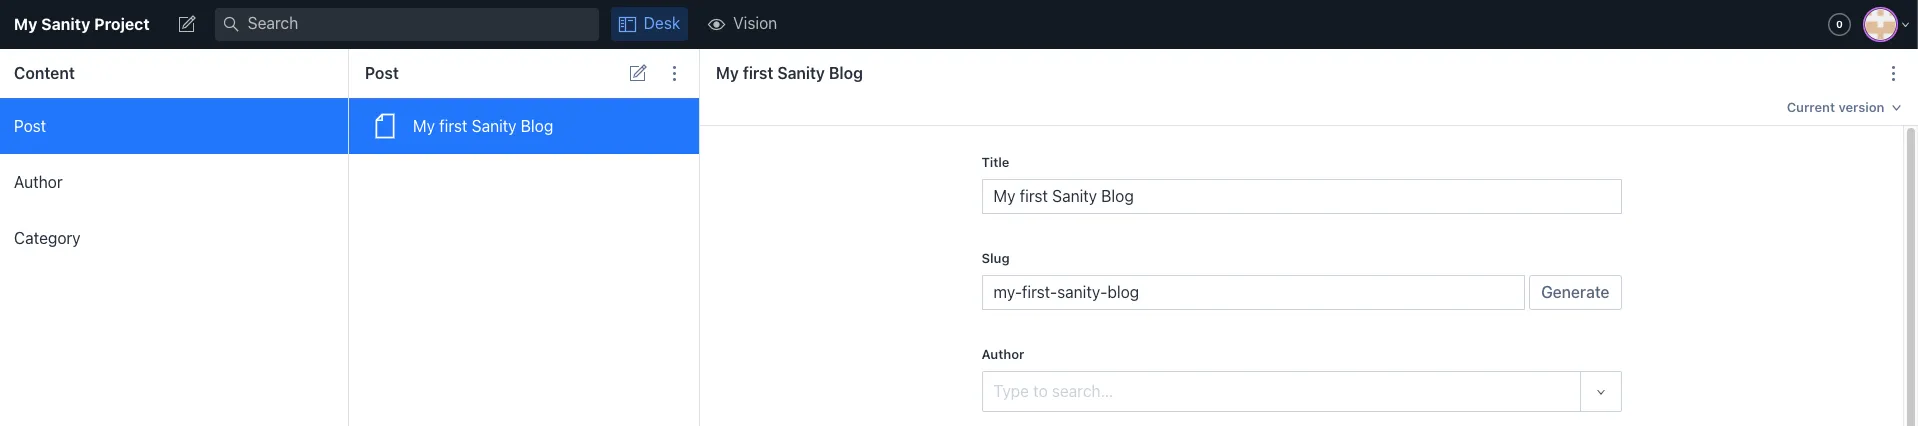
Once the process has finished you can type npm run dev in your terminal to start the developer server on localhost:3000. Now you can open your Next project in your text editor or IDE.
Start Sanity Studio
Now that we have our Next project ready to start developing, we need to create our Sanity Studio. The studio is the one that will allow us to create our “backend” to manage our block content, it is very easy to use and very customizable.
To start a studio, in your terminal navigate inside in your Next project and type:
sanity initNow we need to configure our studio by answering the following questions in the terminal.
- First, select “create new project”
- Type the name of your project
- Then you will be asked if you want to use the default dataset, we can type “y” for “yes”
- Now you will be asked the path and folder name to store the studio. You can name your folder however you want but a common convention you will see is that the folder is named “studio”. So you can create a route like this:
.../my-project/studio. Make sure your studio folder is inside your Next project. Is not a rule but it will make easier the development process. Also, there are other folder structures in which you can have two main folders, one for your Next project and one for your Next project. - Finally, you can select a starting schema. You can start with an empty schema but since we’re creating a blog we can take advantage of the blog schema that sanity offers by default. So select the blog schema and type enter.
Now you can see in your folder tree a new folder called “studio” or the name you decided to use for the folder. To start the development server navigate inside your “studio” folder and type in your terminal
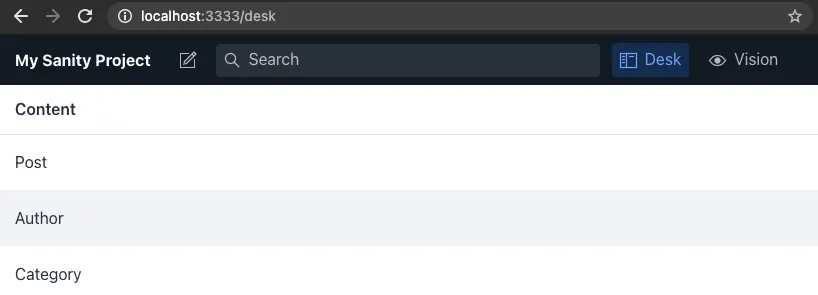
sanity startThis will open a development server in the URL: localhost:3333
Now you can go to localhost:3333 in your web browser and you will be asked to log in. Remember to log in using the same method you used to register. If everything has gone correctly you should have something like the picture below in your web browser.
Connect Sanity and Next Js
Next to Sanity Connection
First, we’re going to create a sanity client in order to tell Next where to fetch data. So inside your next project, create a file for the sanity client, for example, client.js. Inside we’re going to type this:
import sanityClient from '@sanity/client';

export default sanityClient({
    projectId: 'YOUR_PROJECT_ID',
    dataset: 'production',
    useCdn: true
});
We’re basically creating a config file to tell Next which is the project we’re gonna use, the dataset is the one created using “sanity init”. The useCdn is recommended by sanity in order to use a more lightweight data fetching, which is faster.
Finally, your project ID can be found in 2 places.
- Inside your studio folder, on the sanity.json file you can see the
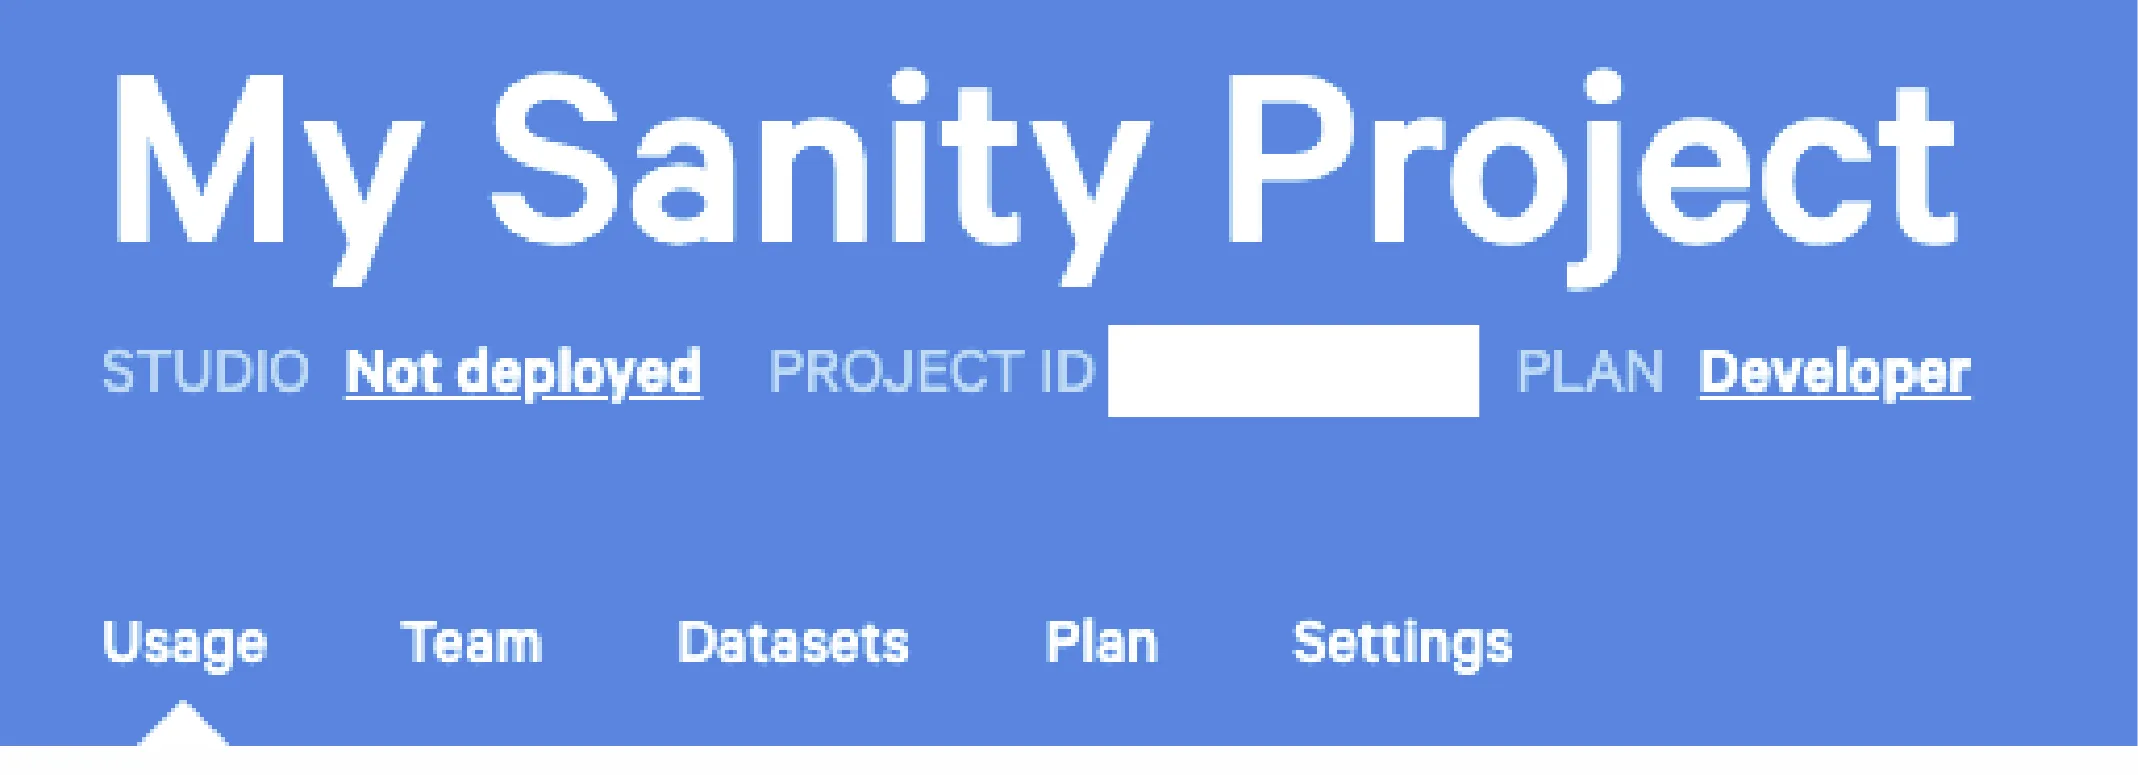
projectId. - In your browser navigate to sanity.io and log in. Inside your dashboard select your project and below your project name, you can see your project ID.
Sanity to Next Connection
Now we need to tell sanity that our next project can be trusted. So, on the same page where you saw your project id go to settings -> API -> Add new Origin.
Add your development server: http://localhost:3000
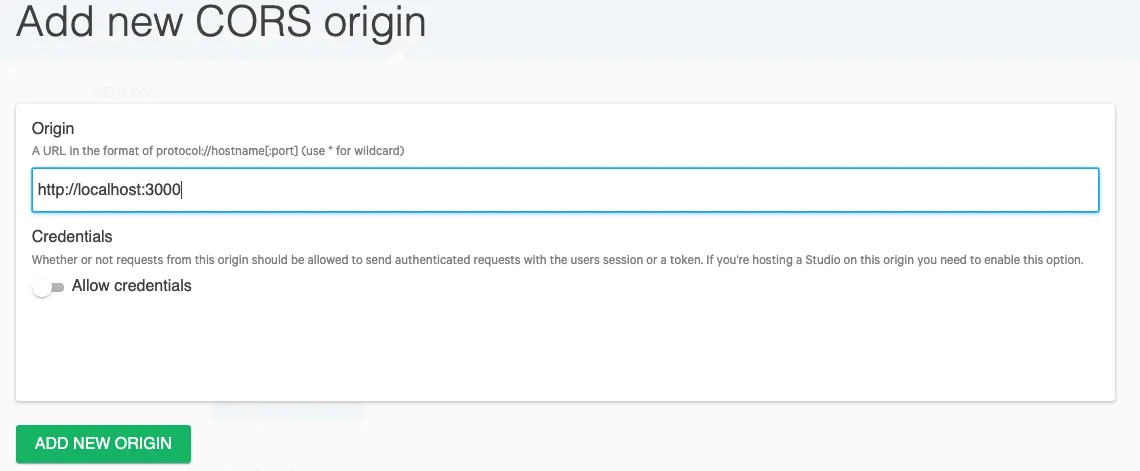
IMPORTANT: Once we deploy our blog, we need to come back here and add our URL for deployment in order to be able to fetch data during production.
Fetch data from Sanity
First, let’s make sure we have some data to fetch. So, in our sanity studio, local server (in the browser) let’s add a new post. You can start by using any “dummy data” for a start. Just type any data on the input boxes. In the case of the author and category, you can either leave it empty or create an author and category on the correspondent content tabs, you can read more about the content models in the sanity docs here. Remember to click the publish button once you have finished creating your dummy post.
Now that we have some data to fetch, let’s go to our next js pages and inside the index.js (or any page on which you want to fetch data).
In order to fetch data from sanity, we’re going to use Next Static Side Generation (SSG). In order to do this, we have to use the special function provided by Next.js called: getStaticProps. You can read more about static data fetching in Next docs here.
Fetching Data Using GROQ
Sanity provides two ways of data fetching. The first is using standard GraphQL. The second one and the one we’re going to use is using Sanity in house query language which they call Graph-Relational Object Queries (GROQ). You can find a GROQ cheat sheet here.
Using GROQ is very simple and somewhat similar to GraphQL. To fetch our data, we’re going to type something like this:
import sanityClient from '../sanity'

export default function index({posts}) {
  return (
    // Your JSX here
  )
}

export async function getStaticProps() {
  const allPosts = await sanityClient.fetch(`
  *[_type == "post"] | order(date desc, _createdAt desc) {
    _id,
    title,
    slug,
    author -> {
      name,
      image {
        asset ->
      }
    },
    mainImage {
      asset -> {
        _id,
        url
      }
    },
    categories[0] ->,
    publishedAt,
    body,
  }
  `)
  return {
    props: {
      posts: allPosts,
    }
  }
}
Our GROQ query will be the one inside the backticks of the fetch function.
Now, let’s see what we’re writing here:
First, the *[_type == "post"] is telling Sanity, get us everything (the \* means all) from the studio inside the content of type “post”.
The "| order(date desc, \_createdAt desc)" is telling Sanity to order everything using the date in descending order, and later order using the \_createdAt date in descending order.
The rest of the query simply lists all of the items that we want from the post schema. If you want to know which names are available in the schema go to your studio folder, inside your project you will find a schemas folder, inside that folder is a file named post.js. In that file, you will see all the same inputs you have on the local server studio in your browser.
Side note: inside the schemas folder is where we can customize our studio and add or remove fields to adapt our project to the required needs.
Render our data
Now that we fetched our data we need to render it to HTML. We first need to pass our data via props to the components that are going to render it. In order to render fields like title, author, or date we can use simple JSX elements to render the data.
Where it gets a bit tricky is with the body content. Sanity uses something called Portable Text, in order to render this type of text into HTML elements we need to download a package from npm. Stop your development server and in your terminal type:
npm i @sanity/block-content-to-reactThis package will help us to render our Rich text (portable text) very easily. Import the package in the corresponding component and use it like this.
import BlockContent from '@sanity/block-content-to-react';

export default function YourComponent(props) {
    // your code here
    return <BlockContent blocks={props.body} />;
}
Remember that you have to destructure your body content from the data previously fetched with GROQ and getStaticProps. Also, you can customize how your BlockContent renders each element like headings, blockquotes, lists, and others by using a prop called serializers inside the BlockContent component. You can read more on the package documentation.
Finish our blog and deploy
At this point, we have all the basics required to build our blog and connect our Next js project to the Sanity CMS. Once you are ready to deploy you can follow these steps.
Deploy frontend
We can deploy our front end to any service that we like. The most common ones are Netlify and Vercel. You can use either, but because this is a Next.js project I suggest you use Vercel. Just push your project to a GitHub repo and deploy using Vercel connection to Github. You can read more here.
Deploy Sanity Studio
To deploy our studio, all we have to do is from our terminal, navigate inside the sanity studio project folder, and type:
sanity deployA prompt will ask you to type a hostname for your studio once deployed. Once the deployment is finished you will have in your terminal the URL for your deployed studio, it will look similar to this.
<your-project-hostname>.sanity.studioNow that your project is deployed remember to go back to your sanity dashboard and inside the project settings add the new domain name of your project in order to let sanity know that your project is safe and allowed to fetch data. Our studio is live on the internet and now we can keep adding on new posts and data.
Our studio is live on the internet and now we can keep adding on new posts and data.
Next steps…
We have just scratched the surface of what we can do with Sanity and Next js.
In future posts, I will add on how to query for dynamic routes using GROQ and the Next js function getStaticPaths, and of course, if we’re creating a Static Side, we’re going to probably need to use Next js Incremental Static Regeneration to tell Next when and how to fetch new data every time we make a change to our deployed Sanity Studio.
I hope you find this tutorial helpful. If you want to let me know your thoughts or ask me to write about something, in particular, let me know in the contact section of this website.